Want to give your boring white walls an alluring makeover this New Year? Why not splash some spectacular hues on your home with a fresh coat of paint! Before you grab your roller, here’s a few essential tips and tricks to give your home a paint job like the pros.
Plan It Out
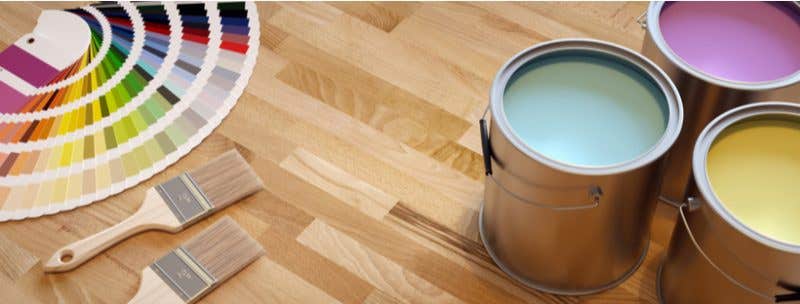
Browsing through fan decks and paint chips can be overwhelming, but having a plan is key to any component of a quality renovation and that certainly includes painting. Whether you want bold accent walls or a single color running through the entire house, always start with your color scheme. Can’t decide? Use your furniture, decor pieces and lighting fixtures as a guide to find what colors will bring your home together.
Test the Paint Color

Once you have decided on the color scheme that best fits, it’s time to test your color swatches. Always test them in broad daylight. This allows you to see how the color will complement your home’s natural lighting. Evaluate test painting after drying, to get a true idea of how it will turn out on your walls. Since hues change as the light in our homes moves throughout the day, evaluate your colors in different light conditions to find an informed fit for your home.
Invest in High-Quality Tools & Supplies
To give your walls an impeccable finish, you need a set of high-quality tools. While it may cost you a little extra money, a good set of supplies will save you time and effort. Remember, every painting project is unique. While your old set of rollers may have worked for the last job, that doesn’t mean they’re right for this one.
Choose your tools based on your paint, your designs, and the condition of your walls. If you’re brand new to interior painting, here’s a short list of core items to start with:
- Paint Roller
- Paint Brushes
- Paint Tray
- Drop Cloths
- Painters Tape
- Rags
- Putty Knife
- Sand Paper
- Extension Pole
Cover Your Floor & Furniture
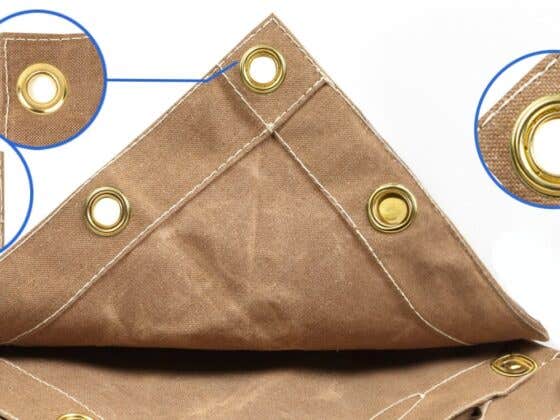
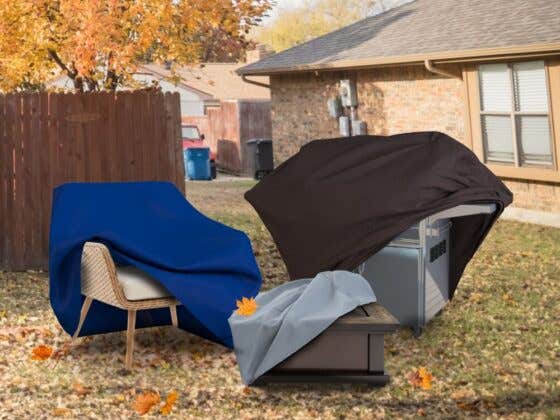
It only takes a little prep to prevent spill and splatter from damaging your expensive furniture and wood floors. Before you begin, prep your floor by tarping it with a waterproof, custom tarp. Then, move your sofas, tables, and chairs to the center of the room, away from any drippage. To further protect your precious valuables, sheath the furniture with a set of robust custom covers.
Prep the Walls

If you want a bold and bright paint job, you need to make sure your walls are prepared before painting. Start by doing any needed repairs. Take the time to fill up any small cracks or nail holes with a small amount of spackle, then smooth out the edges with sandpaper.
After the repairs are done, vacuum all dust and dirt off of your walls. Once your walls are neat and clean, firmly apply painter’s tape to the edges. Make sure to cover corners, base & crown moldings, and any door and window casings to protect them from paint drips.
Prime for Perfect Application
Priming is an essential step to prepare your room for that brand new coat of paint. A primer, or undercoat, will seal away your wall underneath, providing your paint a perfect base to adhere to. Priming also prevents flashing, or shiny spots in your paint job that occur when the paint is applied directly on spackling.
For walls with bold paint colors, such as reds, priming will prevent an old color from bleeding through to the new layer. Always apply primer when moving from a dark coat to a lighter one, or a light color to a bold new layer.
Brush Before Rolling

Before you bust out your roller, try starting your paint job with a brush, singling out hard to reach areas and the outer corners of walls. While you’re at it, use your brush on the areas where the roller will have trouble moving, such as the ceiling and the baseboard. Once you’re finished making brush strokes, use your paint roller to flatten out any brush marks, giving your walls a smooth, pristine look.
Wait for Dry Weather
For outdoor painting, it’s important to keep the elements in mind. Paint will take longer to dry in rainy, humid weather conditions, so always wait to paint in dry/sunny weather for a seamless paint job. If the weather turns sour while you’re painting, single out any areas that may wash away, and keep them safe with a set of waterproof custom tarps.







Recent Comments