Perhaps there is no better way to enjoy summer evenings than grilling sumptuous cuisine and relishing the food with your friends and family. But imagine one summer you discover that your trendy grill is no longer functioning and is covered in gunk and stains. Well, that’s something we do not want to imagine.
It’s important to keep your grill clean and protected to prolong its lifespan manifolds. We have created simple yet best ways to keep your grill clean and healthy.
1. Prioritize Hand Protection
Prior commencing the process, make sure your hands are protected with gloves. The challenges posed by residual smoke, stubborn grease, and sticky barbecue stains can be stubborn to your hands and clothes. Therefore, donning rubber gloves will undoubtedly simplify your life.
2. Burn It Off!
Start the cleaning process for a gas grill by igniting it, closing the lid and letting it heat up to its maximum temperature. Allow a minimum of half an hour for the intense heat to char any adhered food remnants or grease. After that, use a wire brush to vigorously clean the grates of all carbon buildup in a pail of lukewarm, soapy water. Subsequently, disconnect the propane tank and turn off the gas supply. Wait until the grill has completely cooled down.
The method is easier when working with charcoal grills. Simply place the used charcoal briquettes in a metal container. Then, using a spatula or putty knife, remove any debris and embedded charcoal residue.
Once the flames have been effectively kindled, you can start cleaning the grill grate. The grill grate should receive the majority of your cleaning attention as they are the prime recipient of culinary activity and come into direct contact with food.
A significant benefit of using high heat when cooking is that you may easily get a pristine grill grate. Allow the grill grate to soak up the powerful new heat each time it is lit for about five minutes. This method will efficiently burn any remaining food particles, necessitating only a light application of elbow grease and your dedicated effort to deal with the leftover residue.
In case you haven’t taken this step yet, consider investing in a grill brush featuring an extended handle and robust bristles or an abrasive pad. It will surely simplify this aspect of barbecue maintenance.
3. Oiling the Grate
Once the grate has been thoroughly cleansed, the question arises: “Should we oil the grate or abstain?”
Coating your grill grate with oil can avert food adhesion during the cooking process. To do this, put a bunched paper towel into some oil, then apply the oil evenly around the surface of the grate with tongs. A little oil goes a long way in this situation, so take care to avoid using it excessively since this could lead to an unexpected flare-up.
4. Soak It Up
After the grill has cooled down, remove all the grates and flavorizer bars. Now, completely soak them in a bowl of soap infused lukewarm water. Give them at least 30 minutes to drench before using. Additionally, extricate any easily detachable parts of the grill, such as grease pans, warming racks and burner control knobs. It’s also important to remember that most gas grills have removable burner tubes; normally, each tube has a single screw or cotter pin on one end. This thorough disassembly of the grill’s components will make the subsequent cleaning procedure much easier.
5. Use a Wet/Dry Vacuum
Once you’ve taken out the grill grates and flavorizer bars, the inside of the firebox is ready for a thorough cleaning. Initiate the process by positioning an empty container beneath the firebox, precisely aligned with the grease tray aperture. This will catch the soapy water and debris as you flush them out. Use a plastic putty knife to remove any stubbornly stuck material from inside the firebox.
Since wet/dry vacuums are typically associated with workshop applications, you can use any one to suction up the buildup inside your grill.
Once the firebox has been completely cleaned, rinse it with a garden hose.
6. Extensive Scrub
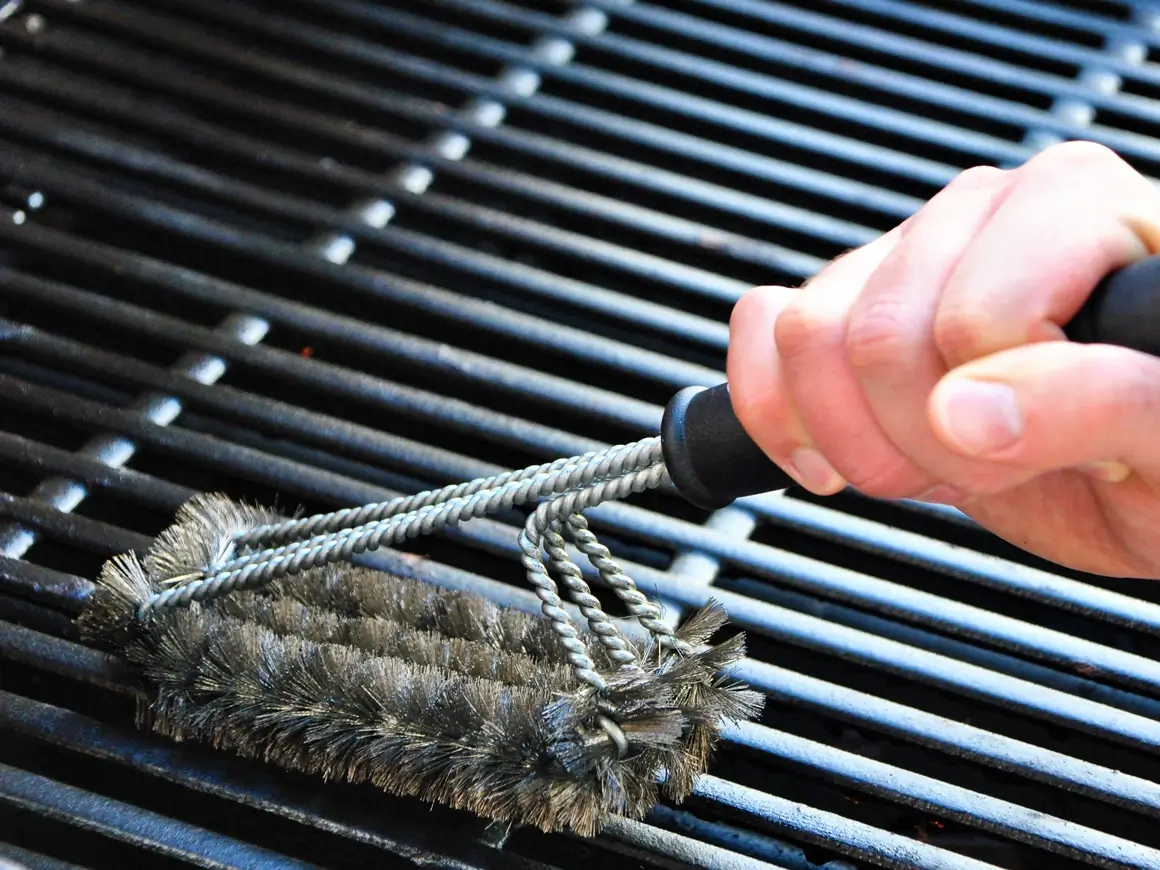
Once the grates and panels have soaked, take them out and give them a good cleaning with the wire brush.
Make a paste out of baking soda and white vinegar to use on exceptionally stubborn residues; the paste can be applied directly to the buildups. Clean all surfaces thoroughly, paying special attention to the cast-iron grates that need to be dried perfectly to stop the rust from starting. Use this chance to look for any potential chips in the porcelain grates as well, as these could lead to rust problems in the future.
If you find any rust or chips, thoroughly clean the area before applying an oil coating to create a protective layer. Then, season the grates for future use.
Pro-Tip: Perform a thorough inspection of your burners to look for any indications of corrosion or possible obstacles in the path of the flame-emitting ports. During times when the grill is not in use, the burner tubes have a propensity to turn into spiders’ favourite nesting places. Use a wire brush to sweep across the series of holes in a back-and-forth motion. Use a wire bottle brush to then thoroughly purge the insides of each tube.
7. Cleanse and Sop Up
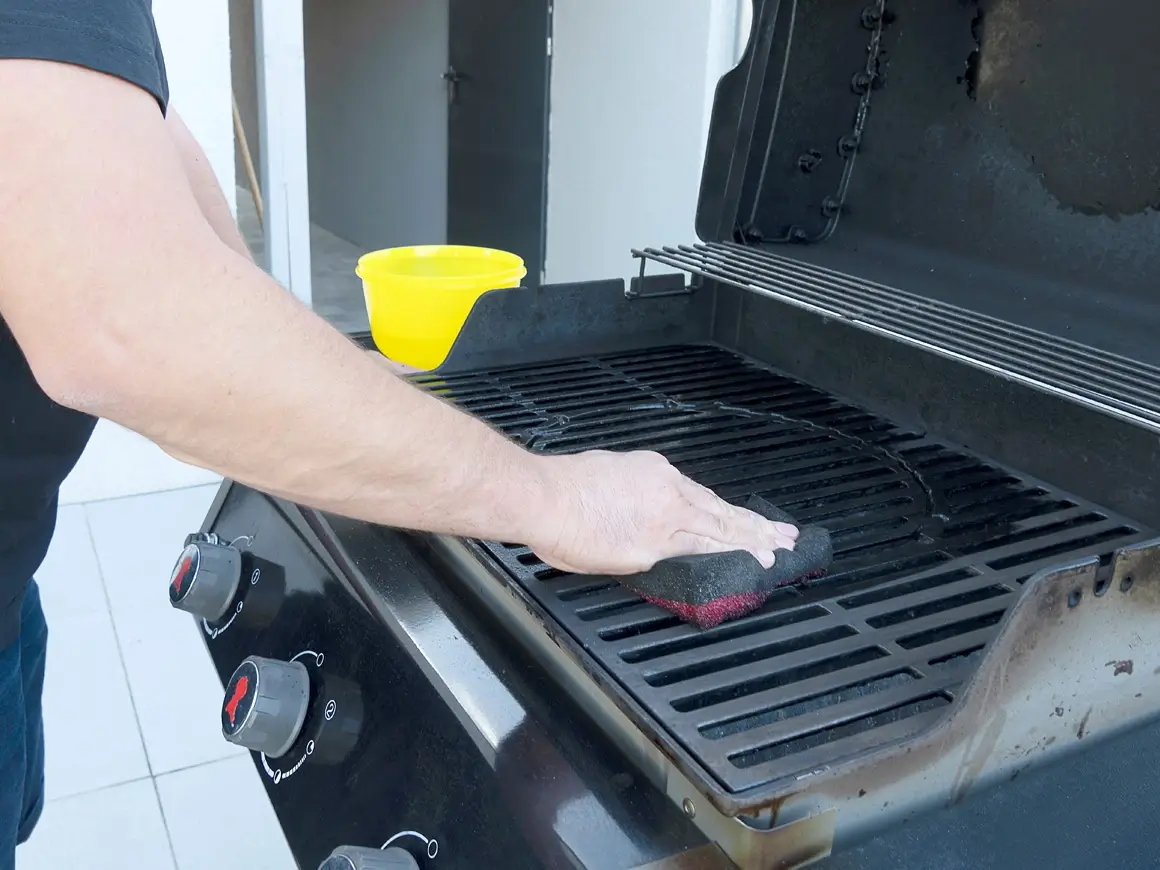
Remove the dirty water from the bucket and replace it with fresh water infused with a little amount of dish soap. Use a sizable kitchen sponge to carefully scrub the grill’s exterior. Avoid steel wool, metallic sponges, and abrasive scouring pads as they may cause unsightly scratches on finished surfaces. Once the external portion of the grill has been thoroughly cleansed, use super-absorbent microfiber towels to carefully blot and desiccate all surfaces.
How to Store & Protect Your Grill after Cleaning
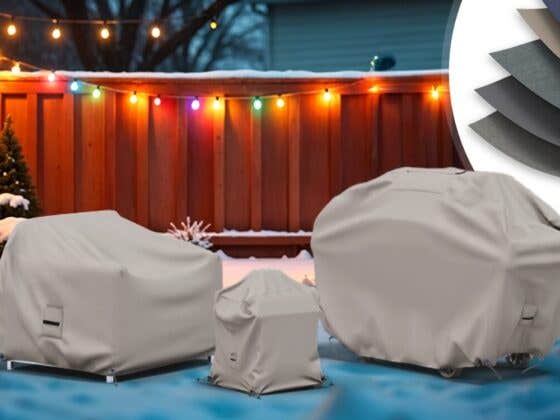
Cover your grill with a heavy duty grill cover, if you won’t be using your grill for a few days after cleaning it. Follow these instructions before applying the covering the grill:
- Make sure your grill is totally dry.
- Ensure that all tie-downs/straps are fastened to prevent animals or dirt from entering below the cover.
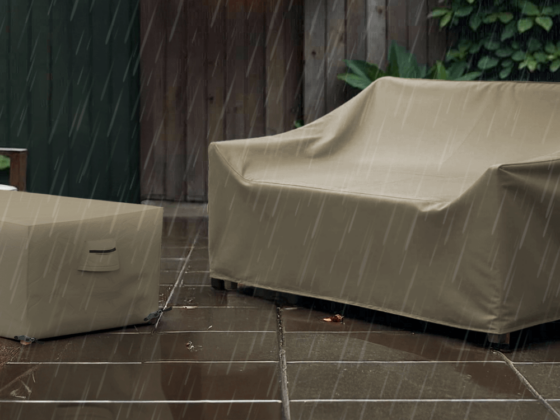
- To ensure foolproof safety, use waterproof grill cover that will forbid the rainwater from entering inside the cover and damaging it.
- Have a well-fitted patio grill cover, which means not too loose nor too tight. You can either go for a custom grill cover if you have a unique sized grill or you can look for a standard size grill cover.
- Store fuel sources in your garage if you reside somewhere with high temperatures.
Benefits of a Grill Cover
Use a grill cover to shield your investment from mud and weather harm. For your upcoming BBQ, a grill cover keeps your grill clean. Be it a big green egg grill cover or a weber grill cover, you can shield your grill from structural deterioration due to intense sun and also increase its lifespan.
1. Ward Off Unwanted Elements
High winds, hail, sun, and snow can all harm your grill’s exterior and functional components. Moisture can rust your grill’s exterior and damage the knobs. Wherein winds can blow dirt and grit inside your barbecue, requiring frequent cleaning before using it.
If you reside in a region with intense sunshine, a grill cover such as a built-in grill cover will shield your grill from structural damage, fading, cracking, dents.
2. Safety from Insects & Birds
Animals and insects live in safe spaces, like your grill. They have the potential to seriously damage the grill’s structure when building their nests. A grill cover prevents critters from entering your barbecue and harming it.
Wrapping Up
Looking back at these suggestions, everything seems so elementary. The daily upkeep required pales in comparison to the brilliance that results from this labor. So, spend a little time maintaining your grill, then throw some food on it, sit back, and enjoy the benefits for years to come.










Recent Comments