Keeping an organized living room or rec room can be a daunting task. From buying the proper furniture for storage to accommodating all the little wires and accessories you need for your electronics, a great deal of planning is needed to keep your family room clutter-free. Need a refresh in your living room? Here’s some quick steps to take to organize your perfect rec space.
Decluttering
Before you add organizers or sort out your items, the first step is to get the clutter out of the way. First, take all papers, books, magazines, and miscellaneous items out of your space, and stow away rarely used items in storage bags.
To make it easier on your future self, try setting up a family command center in your front hall to keep entryway clutter from spreading into the living space.
Recycle Old Electronics
Along with miscellaneous items, stockpiling obsolete tech will stop you from keeping your entertainment area organized.
Take the time to remove and replace outdated pieces of equipment. Then find a good home for them; whether it be donating it to a local thrift store, or reselling them via online marketplace.
Blend the Equipment with Surroundings
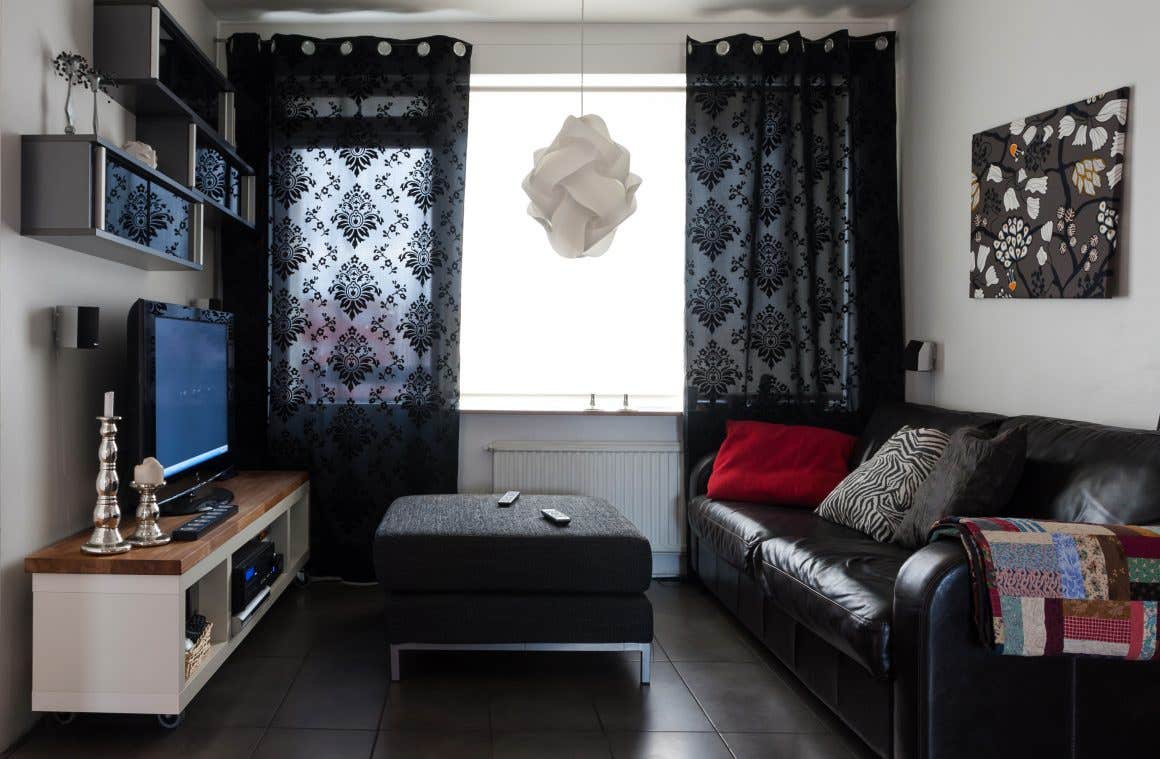
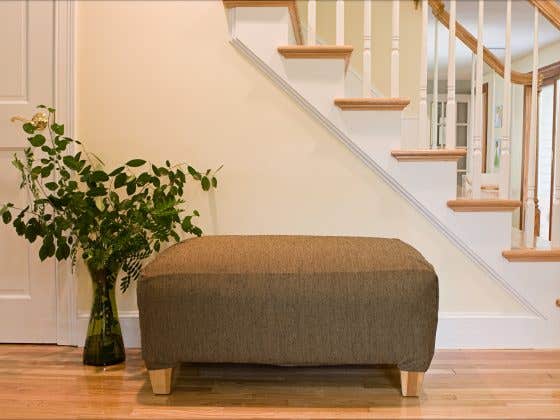
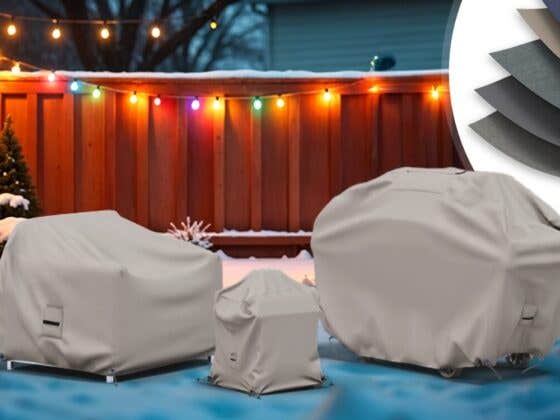
For creating a clean, accessible space, it’s important to use any space you can find for storage. For remotes and game controllers, try storing them inside a storage bench or ottoman. To save space from a TV stand, why not integrate your big screen into the wall? You can also invest in custom covers to match your items to the aesthetics of your living room. This way your gadgets won’t stick out against the rest of your room’s decor.
Use Storage Space Under TV
Your entertainment console is a perfect place to stow away electrical cords, remotes, and other loose items. If you’re investing in an entertainment console for the first time, consider getting one with doors or drawers, which provide a neat way to tuck away all media accessories.
Add a Pegboard
If your entertainment center stays littered with extra game controllers, remotes, cables and other media accessories, take the time to install a pegboard. Pegboards can be used to hook various objects in easy reach, with different accessories to fit all your storage needs.
First, cut a frame to match your desired size, mount, then add extra hooks and shelves as desired. For an added bit of design; try painting the pegboard with a pop of color before mounting.
Consider Built-ins
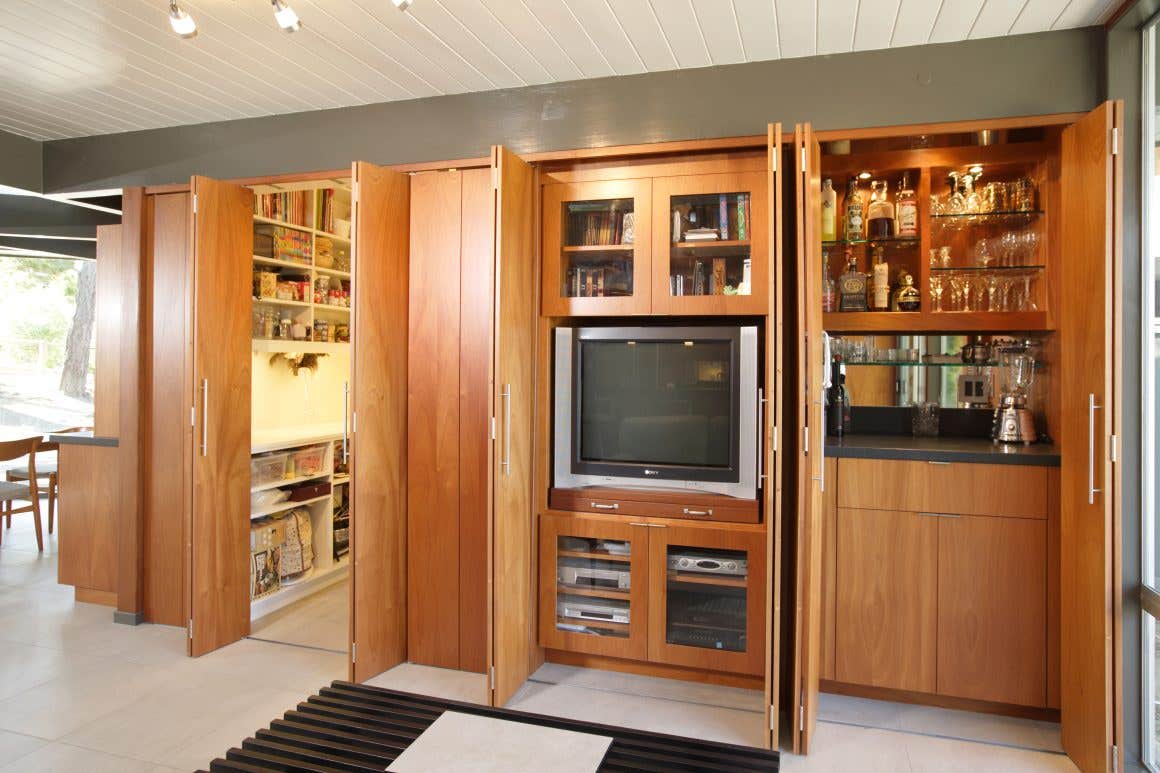
You can further optimize storage space by installing “built-in” interior cabinetry. Built-in cabinets sit inside the wall, and are fitted with the small compartments to store all the necessary equipment and gear. For extra utility, install a built-in with a bench and a sconces, providing you with a place to sit and a light so you can easily view all your items.
Conceal Your Cable Clutter
In any room where you’ve got several electronic furnishings, cable management is crucial. Here are few tips to get started with:
- Whenever possible, run power cables along the floor, near the wall
- When running cables, only make turns at 90 degree angles. This creates clear paths and a clean space.
- Mount your power strip to the wall, to get that clutter off the floor.
- Add cord bundler to tidy up power cables running from the space, and neatly send them wall to wall.
- For data, television, and sound cables, use reusable rubber twists or velcro bands to bundle up cords in picturesque order.
Hide That Power Strip
If mounting isn’t an option, you can easily mask unsightly wires by hiding your power strip away in a sleek box. For this DIY answer, just follow these simple steps:
- Place your power strip inside a box, large enough to fit against the wall.
- Cut holes in the lower corner of a box, giving a place for the cords to easily slide through.
- Decorate it with a colorful wrapping paper.
- Reconnect the plugs, run the wires, and cover.
This is a quick and easy way to declutter your space, and make your living room safer for kids and pets.
Shorten Your Cables
Although these steps are great tools for general cable management, exposed cables on your computer desk can still create a mess. To keep these cables neat and taut, coil them at the end of your desk, giving only enough slack to get it where you need. To further sort and group wires; try covering them with an adjustable cable sleeve, so all your cables run together.
Use Binder Clips
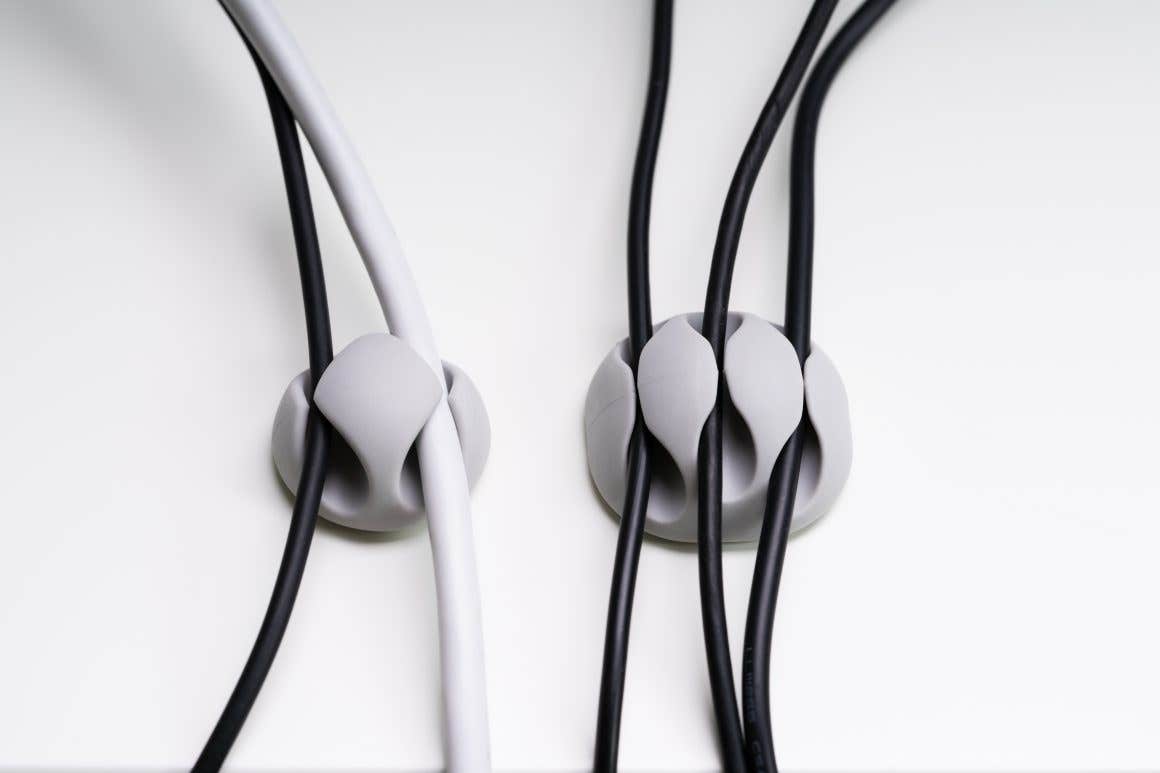
Need a DIY fix for a cable sleeve? Try using a set of binder clips to group your cables. Simply attach binder clips at the edge of your desk and run the cord through the opening. This works especially well for those HDMI cables hanging awkwardly across your TV set or entertainment console.
Label All Cables
Once all your cables are clipped together, identifying the right cable can become a hassle. To avoid this problem, simply wrap colored painters or duct tape around each cable. Then, on the tape, label each cable using a marker. For even easier identification, use a different color of tape for each cable.
Dust-off Dirt
Dust and dirt can wreak havoc on your personal electronics. In your rec room, make it a point to regularly dust off your furniture and vacuum the carpet. Before you do, carefully disconnect all your cables from TVs, computers, and other areas with electronics, and keep these items safe with protective equipment covers. For those nooks and crannies in your computer, make use of a compressed air can to dust off delicate spots.













Recent Comments