The 4th of July is all about food, fireworks, friends, and family. While hamburgers
and hotdogs are definitely on your backyard barbecue’s menu, why not branch out and try something a little
different? When it comes to American cuisine, you can’t
possibly get more quintessential than a fried chicken patio feast. Born in the soul of the American South in the
18th century, fried chicken wasn’t envisioned to be the corner stop casual dining experience that prevails
today. It was instead reserved for special occasions, making it an ideal alternative for July 4th. Whether
you’re a well-seasoned skillet superstar or a first time fryer, let this be your step-by-step guide for making
the very best, finger licking great, fried chicken of your life. All in your outdoor kitchen.
Setting Up Shop
Frying outside is just like frying indoors, with the added benefit of eliminating the
lingering odor of grease and oil that comes with deep fried kitchen madness. Ideally, you have a standalone
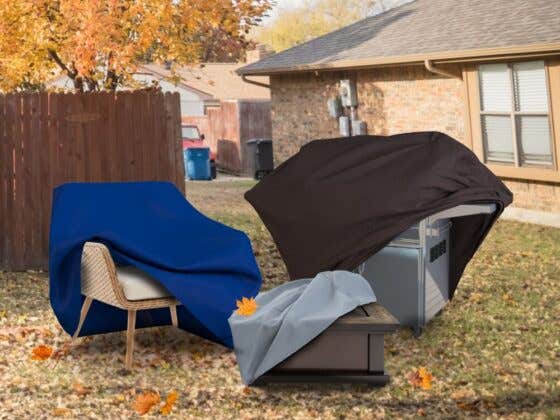
fryer or your outdoor kitchen or grill has a burner to work on. When you remove the grill cover, leave half the grill off and put
a sheet pan on it where you can keep your finished pieces of fried chicken warm. The other half can be for
burgers, dogs, steaks, ribs, or anything else you have on the menu. If you’re using the grill itself as your
stovetop, put aluminum foil on the warming rack for your finished pieces and never close the grill
cover.
As always, keep a few safety precautions in mind when venturing outside for your fried
chicken feast.
- Be mindful of open flames and oil. Don’t fill your pot or fryer with too much
oil; you’ll risk potentially overflowing into the open flames of your gas grill. Use caution when
transferring food out of hot oil, making sure to let excess oil drip back before removing entirely. It’s
smart to keep a fire extinguisher nearby, just in case. And make sure it is a Class K (specifically for
grease fires). - Use a deep-frying thermometer. Use a thermometer to make sure your oil is heated
to the correct temperature. This is important if you’re frying on a charcoal grill, where it’s harder to
regulate surface temperature. If the oil heats too quickly or becomes too hot, carefully move the pot or
skillet to a heat proof surface and let cool. - Keep fried chicken warm. When cooking in batches, it’s crucial to keep chicken
hot by putting it in a warm oven so it doesn’t get cold or greasy. You can also use an oven to finish
cooking the chicken if it isn’t quite finished when it comes out of the oil. - Cool the oil properly. When done frying, make sure you let oil cool down before
moving or transferring it to avoid getting burned.
Buttermilk Bath

From soy sauce to pickle juice,
every fried chicken connoisseur has a secret brine they swear by. Brines are the key ingredient in making
delectable and moist fried chicken. A masterful buttermilk brine is 1 quart buttermilk, mixed with 4 teaspoons
of kosher salt and 1 teaspoon of freshly ground black pepper. Combine all ingredients in a large glass mixing
bowl and submerge your chicken pieces in the brine for anywhere between four hours to overnight. Remove and
drain pieces of chicken from brine and pat them with paper towels until dry, discarding the remainder of the
brine. Like things a little spicy? Add some hot sauce to your buttermilk. How much to add is up to your taste
buds.
Bread Line
A good breading has three distinct qualities.
- Flavor: You don’t have to be a Kentucky Fried Colonel to utilize the seven herbs
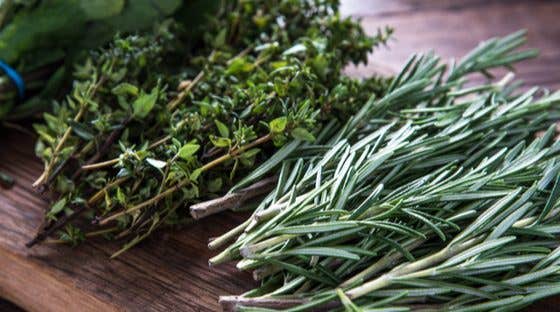
and spices found in the best fried chicken. Combine equal parts paprika, garlic powder, celery salt, black
pepper, thyme, basil, and oregano, before sifting into a bowl of flour. - Adhesive texture: Mix 1 cup of buttermilk with three egg whites and a tablespoon
of cornstarch. -
Crisp and crunch factor. Working 1 piece at a time, dip the chicken into the
buttermilk mixture to completely coat, then in the flour mixture, being sure to shake the flour bowl as
needed in order to completely coat the chicken.
Place coated chicken on a rack and repeat the process with the remaining pieces. Set
the entire chicken aside and leave covered at room temperature for 15 minutes.
Striking Gold

When it’s time to fry your chicken, consider a few different things. The type of oil
you decide to use is crucial in achieving a desirable golden brown crust. Choose an oil with a high smoking
point, such as peanut or canola oil, heating until the temperature reaches around 335° F. Place 2-3 pieces of
the chicken in the oil and fry, using tongs to rotate the pieces every 2 to 3 minutes, until golden with an
internal temperature of 165° F. The whole process should take no longer than 15 minutes. And if you’re having
trouble getting a finished internal cooking temperature, you can always put the chicken into the oven for 5
minutes, ensuring the chicken is both crisp and moist.
Picnic on Your Patio
Cool chicken for at least 15 minutes before serving. This makes sure the crunchy crust
is set and ensures that your chicken will have completed cooking. Pull off your chair and table covers and serve on
your patio with all the normal fixings of a backyard barbecue, such as potato salad or coleslaw. Don’t stress
about these items, as they can easily be picked up from a local market or a Mom and Pop deli. With your fried
chicken as the star attraction, you’re sure to earn your stripes as an outdoor kitchen culinary master and start
a new 4th of July tradition for years to come.




Recent Comments